- How to Remove a Car Engine Head
- Introduction
- Safety Precautions
- Tools and Materials Required
- Step-by-Step Instructions
- 1. Disconnect Engine Components
- 2. Remove Valve Cover and Timing Components
- 3. Unbolt Engine Head
- 4. Lift and Remove Engine Head
- 5. Replace Head Gasket and Reinstall Engine Head
- 6. Reinstall Timing Components and Valve Cover
- 7. Reconnect Engine Components
- 8. Start Engine and Check for Proper Operation
- Conclusion
How to Remove a Car Engine Head
Introduction
The engine head is a critical component of an internal combustion engine. It houses the valves, combustion chambers, and spark plugs.
Removing the engine head is necessary for various maintenance and repair tasks, such as replacing a blown head gasket or performing valve work.
This guide will provide step-by-step instructions on how to remove the engine head safely and effectively.
Safety Precautions
- Wear appropriate personal protective equipment, such as safety glasses, gloves, and a dust mask.
- Allow the engine to cool completely before starting any work.
- Disconnect the battery to prevent electrical accidents.
- Use proper tools and techniques to avoid damage to the engine components.
Tools and Materials Required
- Socket set
- Wrenches
- Screwdrivers
- Pliers
- Head gasket removal kit (optional)
- New head gasket
- Torque wrench
Step-by-Step Instructions
1. Disconnect Engine Components
- Remove the air intake system, including the air filter housing and ducting.
- Disconnect the fuel lines and electrical connectors from the engine head.
- Drain the coolant from the engine using a drain plug or petcock.
2. Remove Valve Cover and Timing Components
- Remove the valve cover by unbolting it from the cylinder head.
- Identify and remove the timing belt or chain according to the manufacturer’s instructions.
3. Unbolt Engine Head
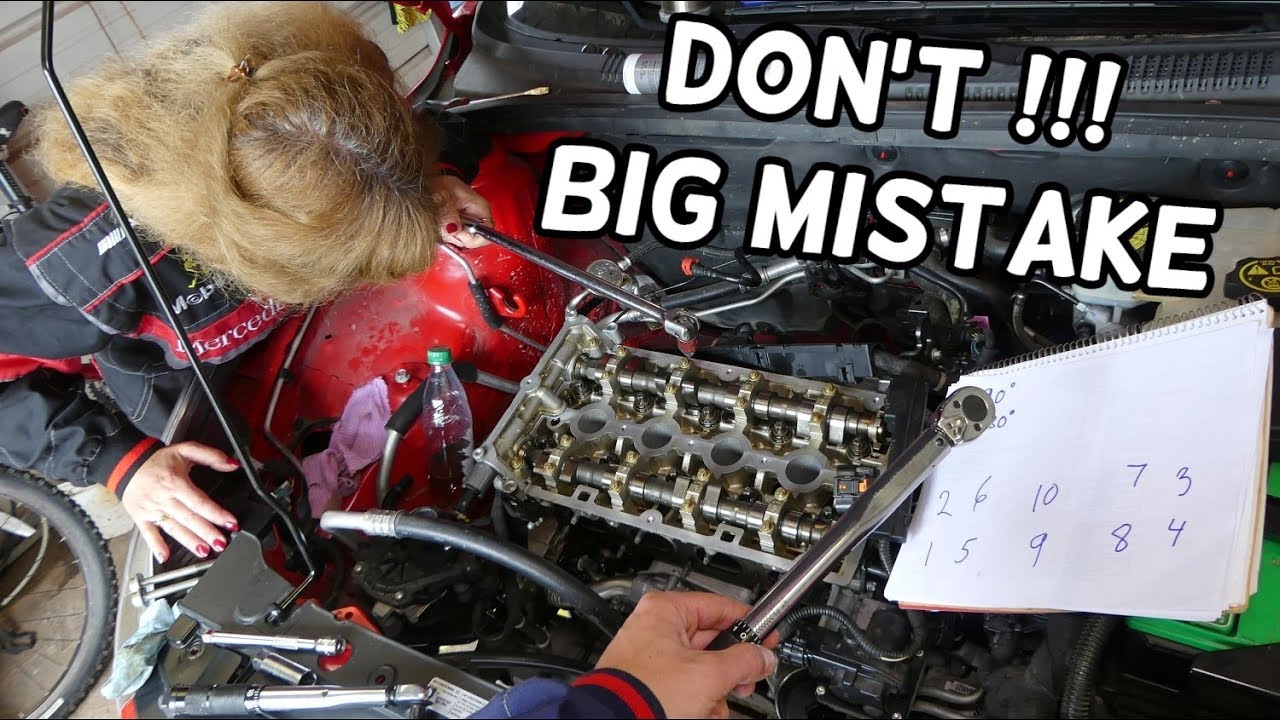
- Locate the head bolts and use a socket wrench to loosen them gradually in a star pattern.
- Slowly and carefully remove the head bolts, checking for any resistance or binding.
4. Lift and Remove Engine Head
- Gently lift the engine head off the engine block, using a head gasket removal kit or pry bars if necessary.
- Inspect the head gasket for any damage or wear.
5. Replace Head Gasket and Reinstall Engine Head
- Clean the mating surfaces of the cylinder head and engine block thoroughly.
- Position the new head gasket and ensure it is properly aligned.
- Slowly lower the engine head onto the block, guiding it into place.
- Tighten the head bolts gradually and in a star pattern, following the specified torque values.
6. Reinstall Timing Components and Valve Cover
- Reinstall the timing belt or chain according to the manufacturer’s instructions.
- Place the valve cover back on the cylinder head and tighten the bolts.
7. Reconnect Engine Components
- Reconnect the fuel lines and electrical connectors.
- Reinstall the air intake system.
- Refill the coolant and check for leaks.
8. Start Engine and Check for Proper Operation
- Reconnect the battery.
- Start the engine and let it run for a few minutes.
- Check for any leaks, noises, or other problems.
Conclusion
Removing a car engine head is a complex and potentially risky task. However, by following the steps outlined above, you can safely and effectively complete this repair.
Remember to take proper safety precautions, use the correct tools and techniques, and consult the manufacturer’s instructions if needed.
With careful planning and execution, you can successfully remove and reinstall the engine head, ensuring the proper functioning of your vehicle.


