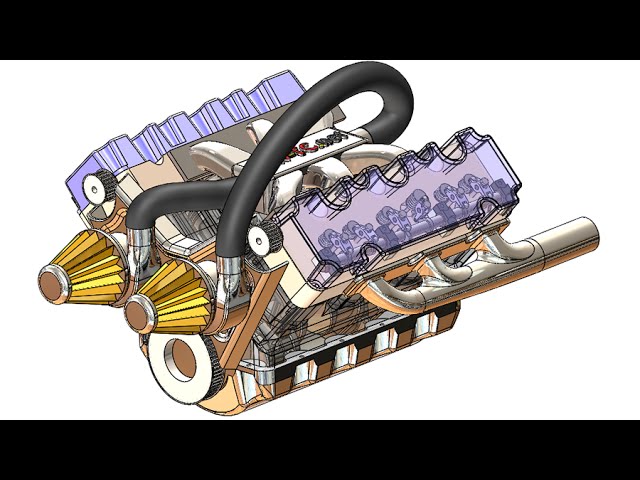
How to Design a Car Engine in SolidWorks
SolidWorks is a popular 3D CAD software used by engineers and designers to create sophisticated designs. In this tutorial, we will show you how to design a car engine in SolidWorks using step-by-step instructions. We will cover all the essential steps, from creating the basic geometry to adding advanced features such as valves and pistons.
1. Create a New Project
The first step is to create a new project in SolidWorks. To do this, click on the “File” menu and select “New”. In the “New Project” dialog box, select the “Part” template and click “OK”.
2. Sketch the Basic Geometry
The next step is to sketch the basic geometry of the engine block. To do this, create a new sketch on the front plane. Start by drawing a rectangle for the base of the block. Then, add two circles for the cylinders. Finally, add a few lines to represent the connecting rods and crankshaft.
3. Extrude the Geometry
Once you have sketched the basic geometry, you need to extrude it to create the solid model. To do this, select the sketch and click on the “Extrude” feature in the “Features” tab. In the “Extrude” dialog box, specify the extrusion depth and click “OK”.
4. Add the Valves
The next step is to add the valves to the engine block. Valves are used to control the flow of air and fuel into and out of the cylinders. To create a valve, create a new sketch on the top plane of the engine block. Draw a circle for the valve seat and a rectangle for the valve stem. Extrude the sketch to create the solid model of the valve.
5. Add the Pistons
The next step is to add the pistons to the engine block. Pistons are used to compress the air and fuel mixture in the cylinders. To create a piston, create a new sketch on the front plane of the engine block. Draw a circle for the piston head and a rectangle for the piston skirt. Extrude the sketch to create the solid model of the piston.
6. Assemble the Engine
The final step is to assemble the engine. To do this, insert the valves and pistons into the engine block. Use the “Mate” feature to align the components correctly. Once all the components are in place, you can create a new assembly to represent the complete engine.
Conclusion
In this tutorial, we showed you how to design a car engine in SolidWorks. We covered all the essential steps, from creating the basic geometry to adding advanced features such as valves and pistons. By following these steps, you can create your own 3D model of a car engine.